
Note: If your Testing Sections mirror your Classes, please refer to the instructions at the end of Assign Students to Classes.
- Navigate to the Testing Sections menu selection. Select the “New” button in the upper right corner of your screen
- Enter the Testing Section Name. This should be a uniquely identifiable name so that your Reporting Dashboard is easy to read.
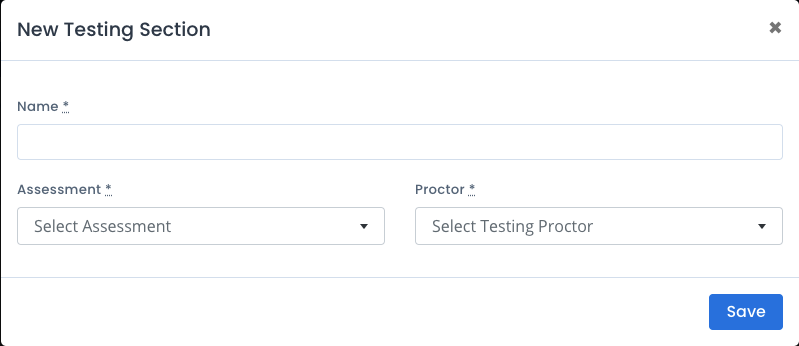
- Select the proper Assessment for the grade level of the Students in the section.
- Select the Proctor from the drop-down window.
- Hit the “Save” button and you will return to the list of Testing Sections. Repeat steps 1 to 5 for as many Testing Sections as you need.
To add students to a testing section:
- To add Students to a Testing Section, from the Testing Sections list, select the “…” button at the far-right side of the Testing Section you want to manage. Select “View” from the pop-up menu.
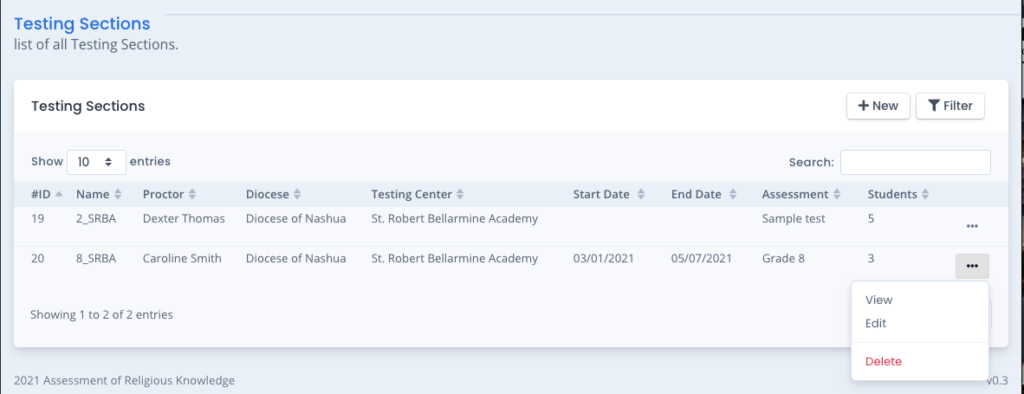
- In the next screen, Select the “New” button in the upper right corner of your screen.
- A New Student window pops up and you can select your Students from the drop-down menu. If you are adding multiple Students at one time, use the blue “Save & add more” button. When finished, select the grey “Save & Close” button.
- Repeat Steps 6-8 for as many Students and or Testing Sections as you need to create.
